
FMFCU’s Digital Banking Guide
Take advantage of many free features included within FMFCU Digital Banking. Learn about Online Banking and Mobile Banking features by category or explore a full list from A-Z. Get started today!
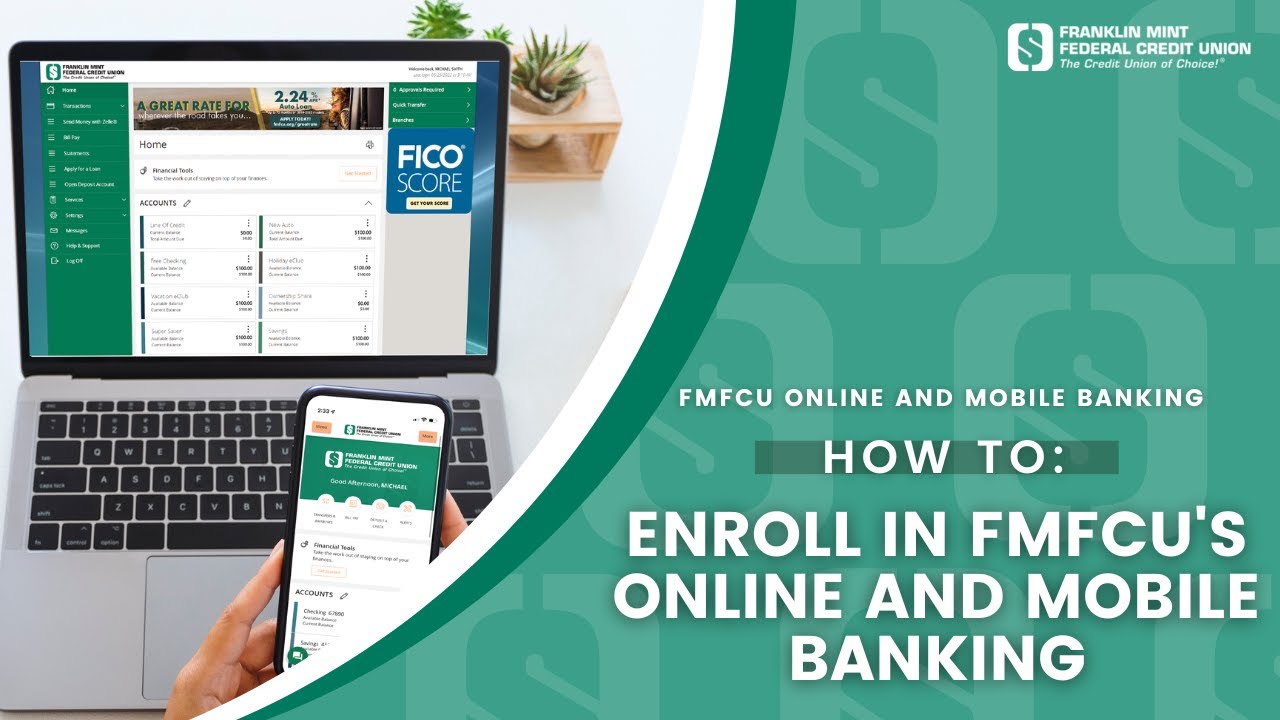
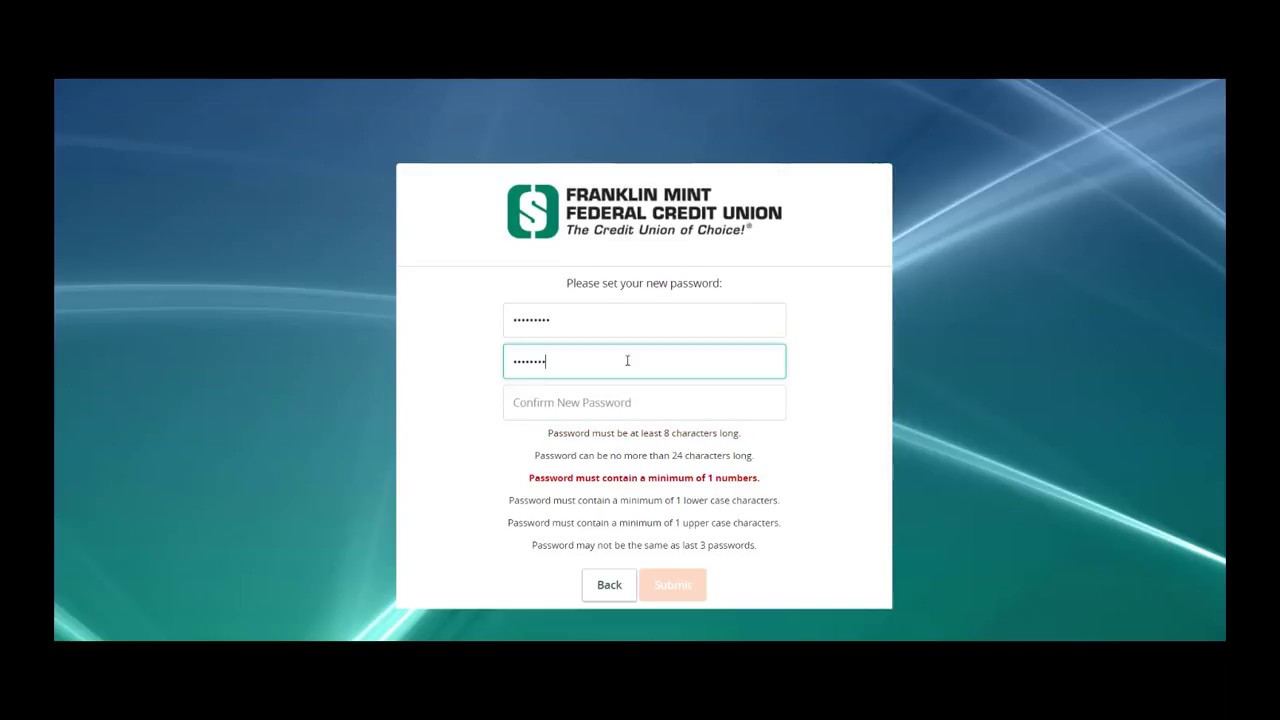
START HERE – Watch How-To Videos:


Explore Top Digital Banking Features by Category:
Send Money
-
-
External Account Transfer (via Plaid)Transfer funds with your FMFCU accounts and accounts OUTSIDE of FMFCU from other financial institutions. LEARN MORE
-
Funds Transfers (One-Time/Recurring)Move money between your FMFCU accounts. LEARN MORE
-
ZelleSend money to, and receive money from, people you know and trust who have a bank account in the U.S. LEARN MORE
-
Checks and Payments
-
AnytimeDepositSave time by depositing checks using a mobile device. LEARN MORE
-
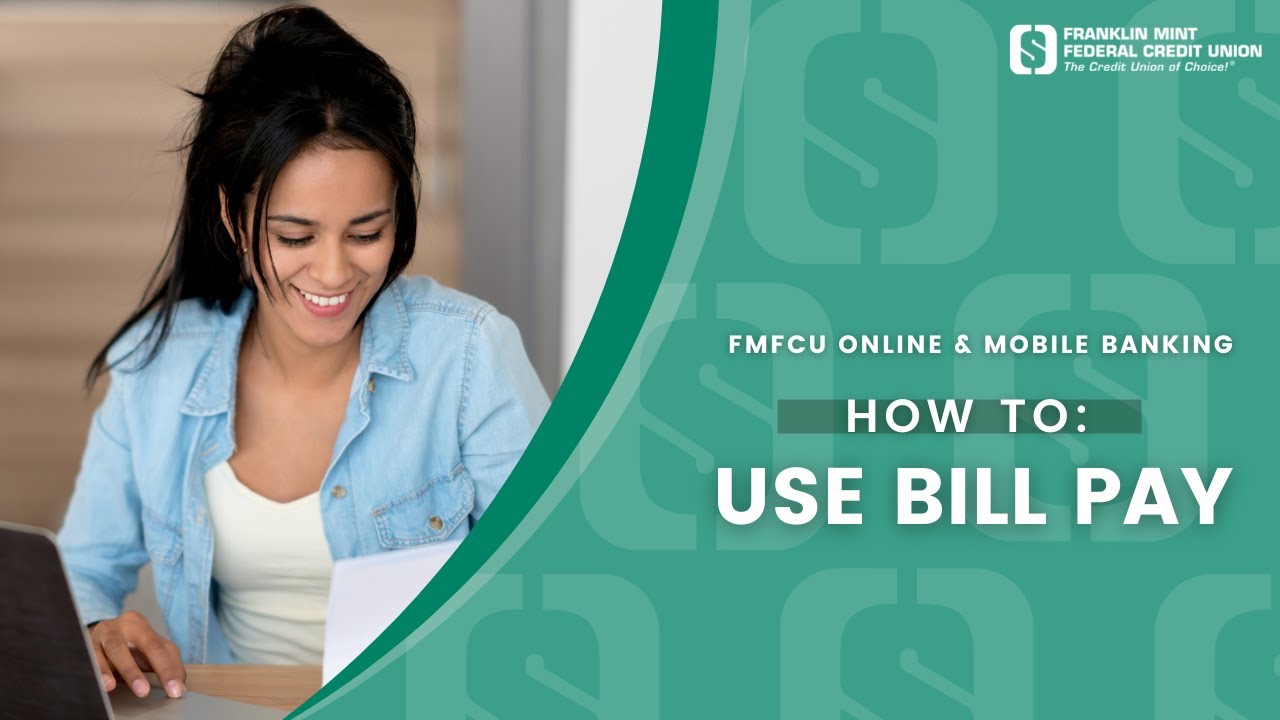
Bill PaySchedule and manage bill payments. LEARN MORE
-
Digital WalletsUse a mobile device to make purchases in-store and online. FMFCU supports many digital wallets. LEARN MORE
-
Stop Check PaymentRequest to cancel your check. LEARN MORE
-
View Check CopiesView deposited checks. LEARN MORE
Security Tools
-
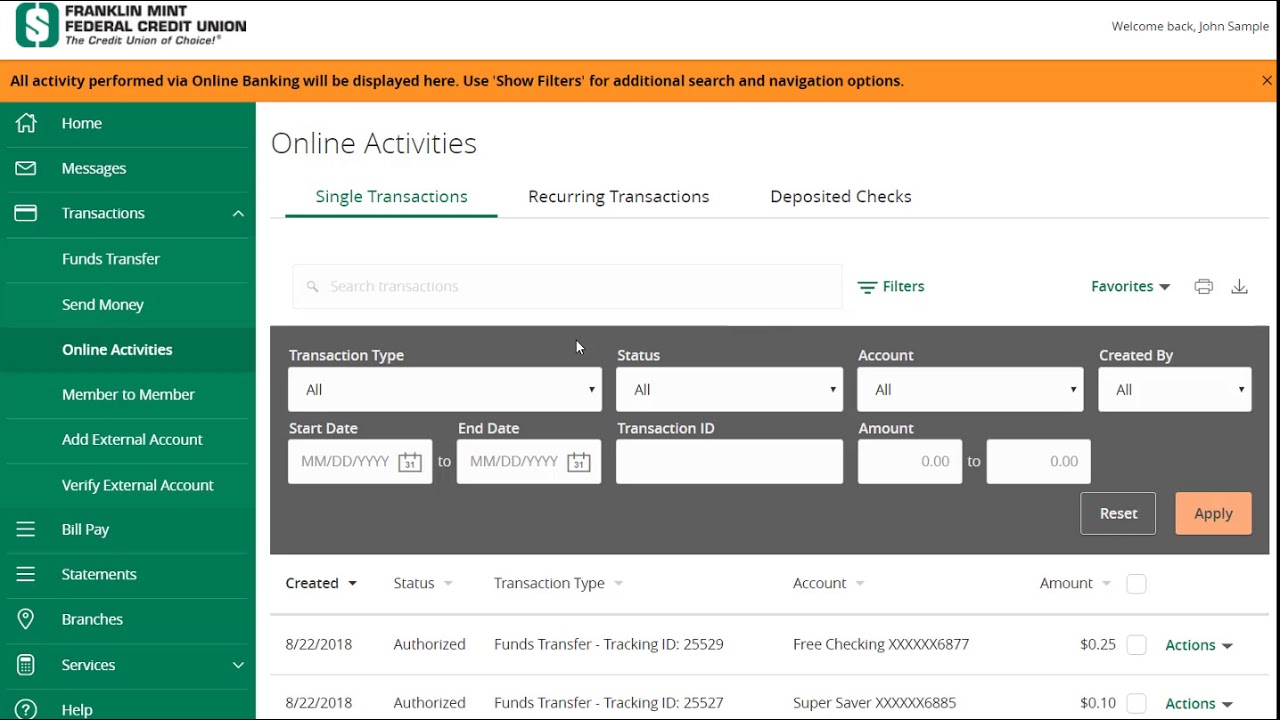
Account Activity AlertsReceive alerts when certain transactions occur. LEARN MORE
-
Debit Card ManagerThis allows you to activate, enable or disable your card, report as lost or stolen, set up important alerts, and more. LEARN MORE
-
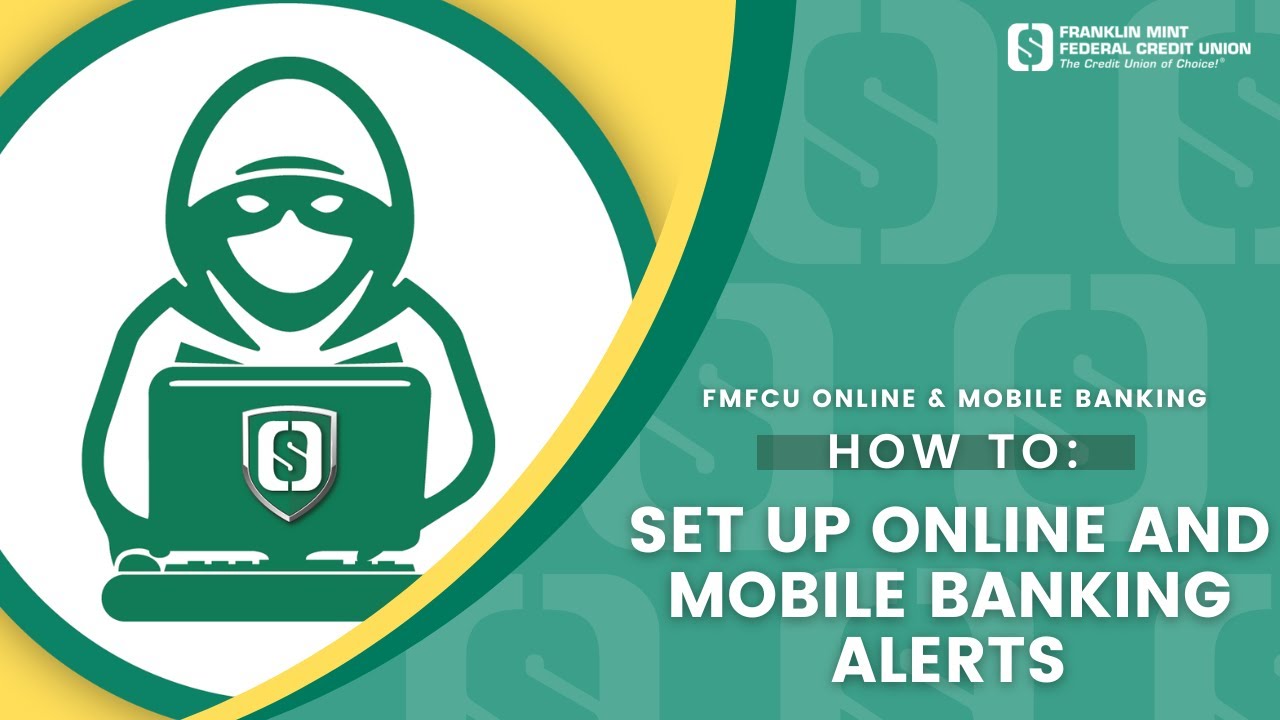
Digital Banking Security AlertsConfigure custom text alerts and stay aware of account activity. LEARN MORE
-
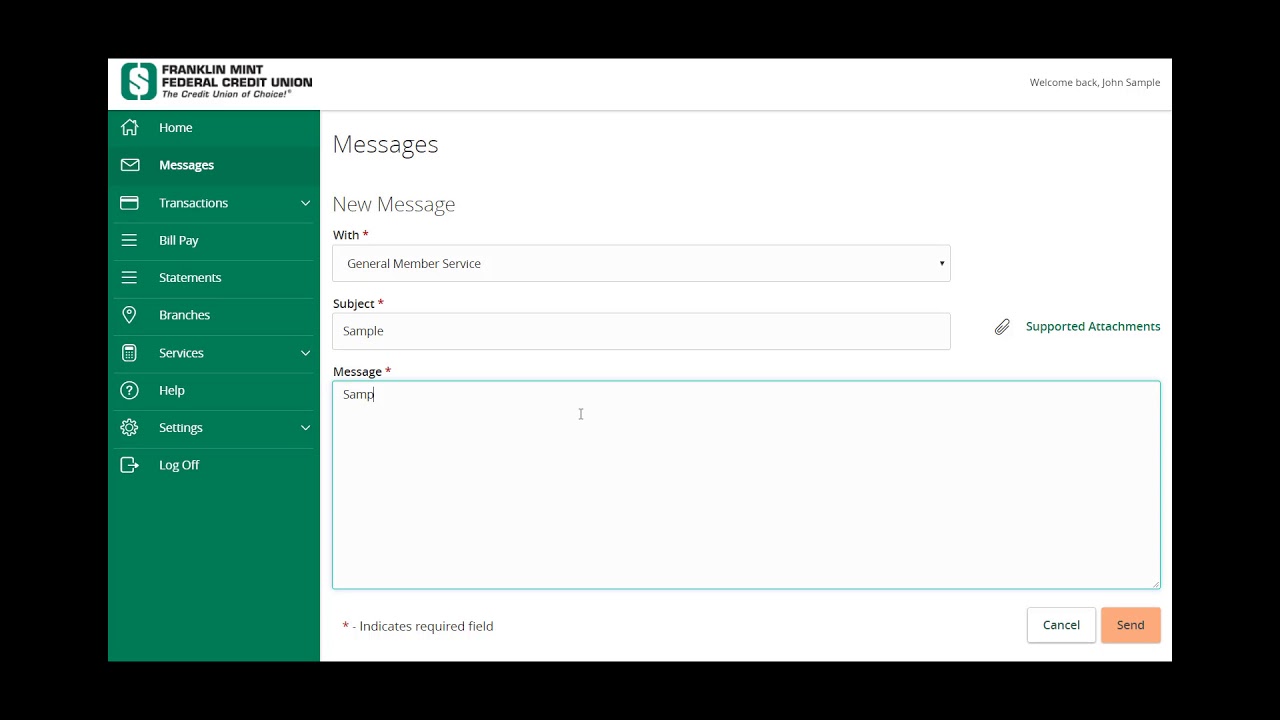
Secure MessagingSend messages containing confidential information to FMFCU’s Member Service Center and receive responses. LEARN MORE
Personalize
-
Financial ToolsOrganize your finances and stay on top of expenses with several available tools. LEARN MORE
-
ThemesChange the look and feel inside your Online Banking and Mobile Banking. LEARN MORE
-
My ToolkitYour very own APP STORE within Digital Banking. My Toolkit provides financial tools and services that integrate with your personal or business banking accounts. LEARN MORE
Account Services
-
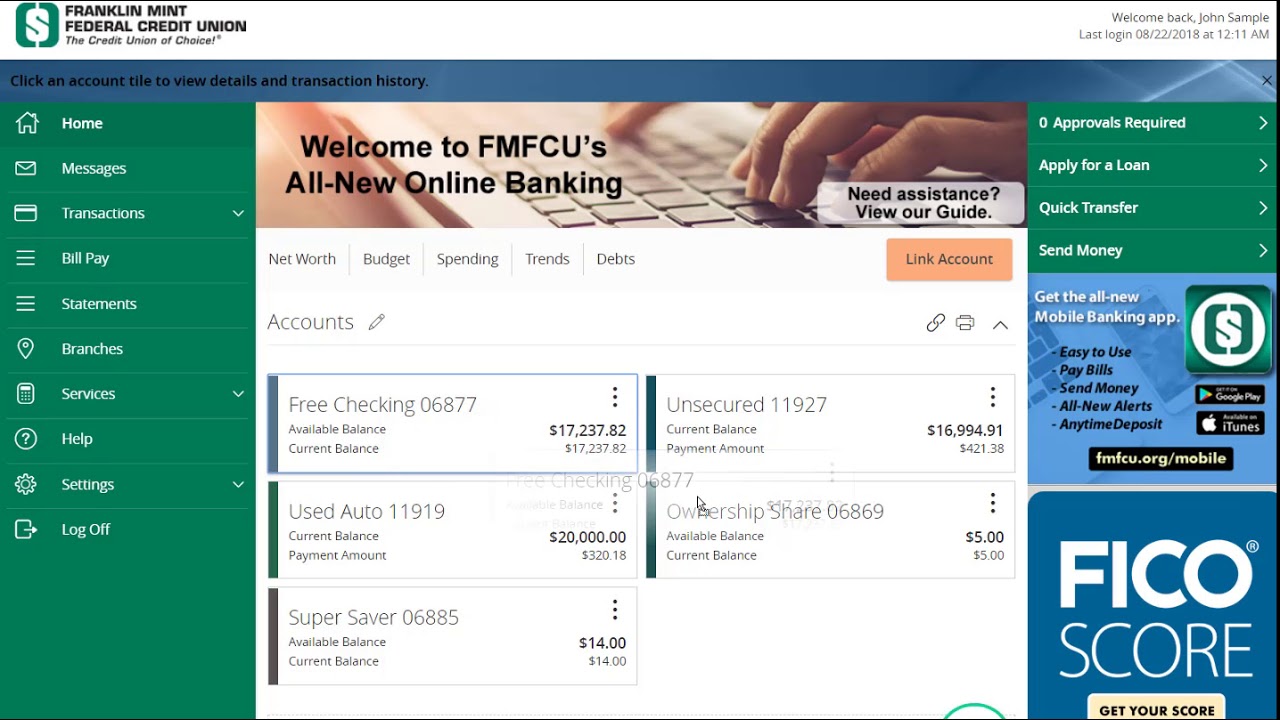
Account Details & SettingsView information about your deposit and loan accounts such as account number, current balance, payment amount, and more. LEARN MORE
-
Address ChangeRequest an update to your address on file quickly and conveniently in a few steps. LEARN MORE
-
Online StatementsSwitch to Online Statements to view current and past statements online. LEARN MORE
Explore Digital Banking features from A-Z.
Download FMFCU’s Mobile App
Once the app is downloaded, tap “New user” to begin or login with your current Online credentials.
App store is a trademark of Apple Inc., registered in the U.S. and other countries and regions.
Google Play and the Google Play logo are trademarks of Google LLC.